


Sanitary ware is needed by every family, and everyone will come into contact with it every day, but I think not everyone understands how they are installed. Now let’s learn how to install sanitary ware!
How to install bathroom sanitary ware
NO1: The installation of the bathtub
Test whether the water leaks: before installing the bathtub, install the water fittings and shut off the water for 24 hours to see if there is any water leakage in the bathtub, paying special attention to the overflow.
Leveling of the bathtub: When placing the bathtub, pay attention that the other end of the drain is slightly higher than the end of the drain, so that the sewage will not be drained smoothly in the future. The bathtub visually maintains a horizontal appearance without affecting the drainage effect.
Sand filling: Although the cast iron bathtub is strong, its thermal conductivity is very fast. Medium river sand should be used to lay and pound the bottom of the bathtub firmly. It is also recommended to use foam, considering that foam is not as fluid as river sand, and it is very suitable to fill all the gaps. In the process of filling river sand, how to prevent the sand from leaking into the downpipe is a problem to be solved.
Leaving the inspection opening: leave a hole at the water outlet with a height of 300mm and a width of 400mm, cut out a hole according to the size, cut out the wooden board (thickness 40mm) that has been waterproofed and anti-corrosion treated according to the size, and place the calculated number of bricks on the board according to the Arrange the bricks to the planks with 903 construction glue. Apply sealant to the edge of the protruding brick and inlay it on the box to facilitate the maintenance of the bathtub drainage system in the future.
NO2: Toilet installation
Take out the pipe plug of the water outlet on the ground, check that there is no debris in the pipe, clean the surrounding area of the pipe mouth, align the outlet pipe of the toilet with the mouth of the water pipe, lay it flat and align it, draw a mark on the hole of the bolt of the toilet, and remove it. Open the toilet.
Drill a hole with a diameter of 20 mm and a depth of 60 mm at the mark, insert a bolt with a diameter of 10 mm into the hole, twist it firmly with cement, align the eye of the toilet with the bolt, and make it match the mark. After the test, move the toilet open. Apply putty around the water outlet of the toilet and the mouth of the sewer pipe, then align the four bolt holes of the toilet with the bolts, lay it flat and align it, put rubber pads on the bolts, screw on the nuts, and tighten them until they are moderately tight.
Align the center of the rear end of the toilet, draw a vertical line, and draw a horizontal line at a height of 800 mm from the ground. According to the positions of the two side holes on the back of the water tank, draw a mark on the horizontal line, and punch a hole with a diameter of 30 mm and a depth of 70 mm. hole. Insert a bolt with a diameter of 10mm and a length of 100mm into the hole and tighten it with cement. Hang the back water tank on the bolts, lay it flat and align it, especially align it with the center of the toilet, put a rubber pad on the bolts, screw on the nuts, and screw them to a moderate degree of tightness.
When installing the water elbow of the back water tank, first remove the nuts of the water outlet of the back water tank and the water inlet of the toilet, and put them on the water elbow back to back, and put the rubber pads on the water pipes respectively. Insert the upper end of the water elbow into the water inlet of the back water tank, and insert the lower end into the water inlet of the toilet, then push the rubber pad to the water outlet, screw on the nut, align the water elbow, and tighten it with pliers until it is tight moderate.
When using a splayed gate to connect the water supply, first measure the distance between the float door of the water tank and the water supply pipe mouth, match the short joint, install the splayed gate, and put it into the water supply pipe mouth. Cut off the copper pipe or plastic pipe, and if it needs a light fork, fix the bend, and then put the floating door and the eight-shaped door nut back to back on the copper pipe or plastic pipe, and wrap the two ends of the pipe with oil asbestos rope or lead oil hemp thread, respectively. Insert it into the entrance and exit of the drift door and the figure-of-eight door, and tighten the nuts.
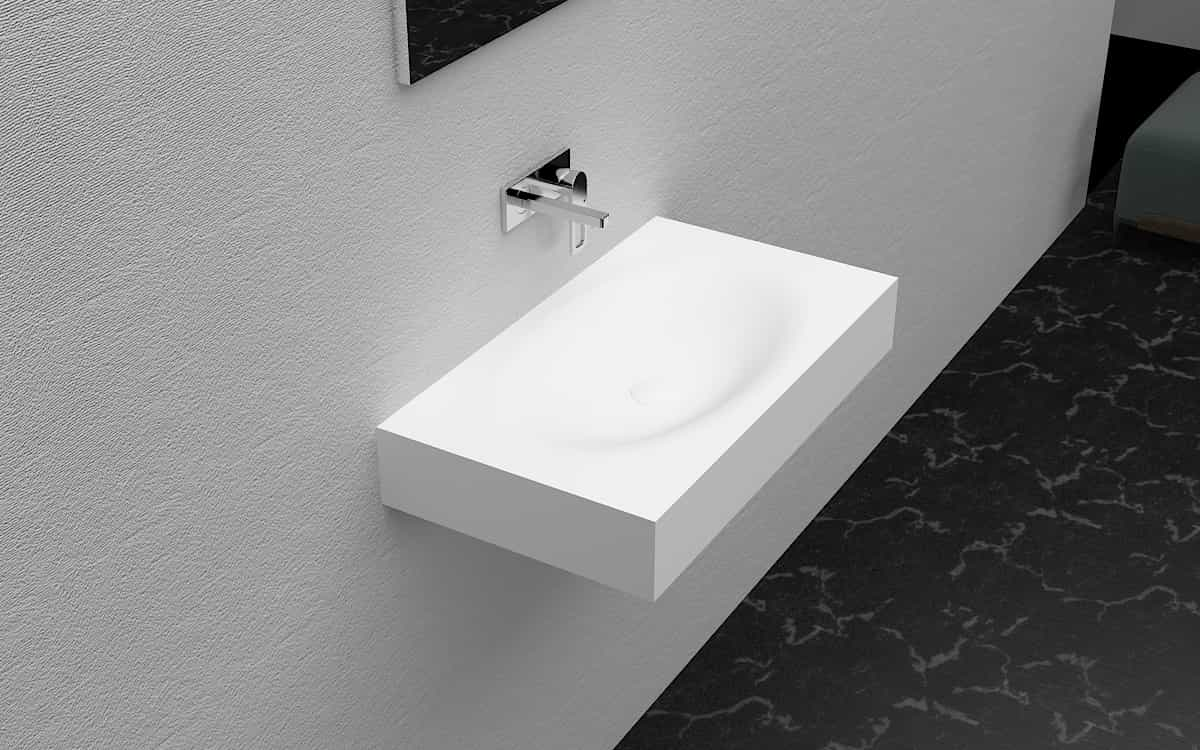
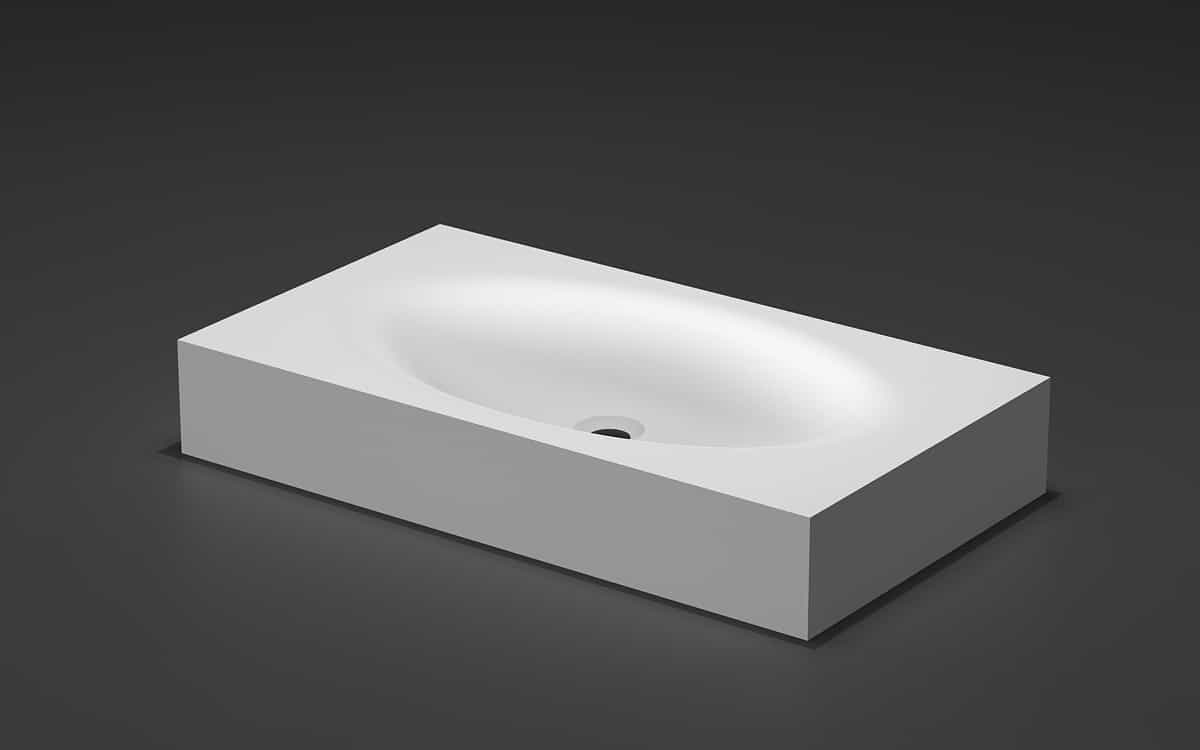
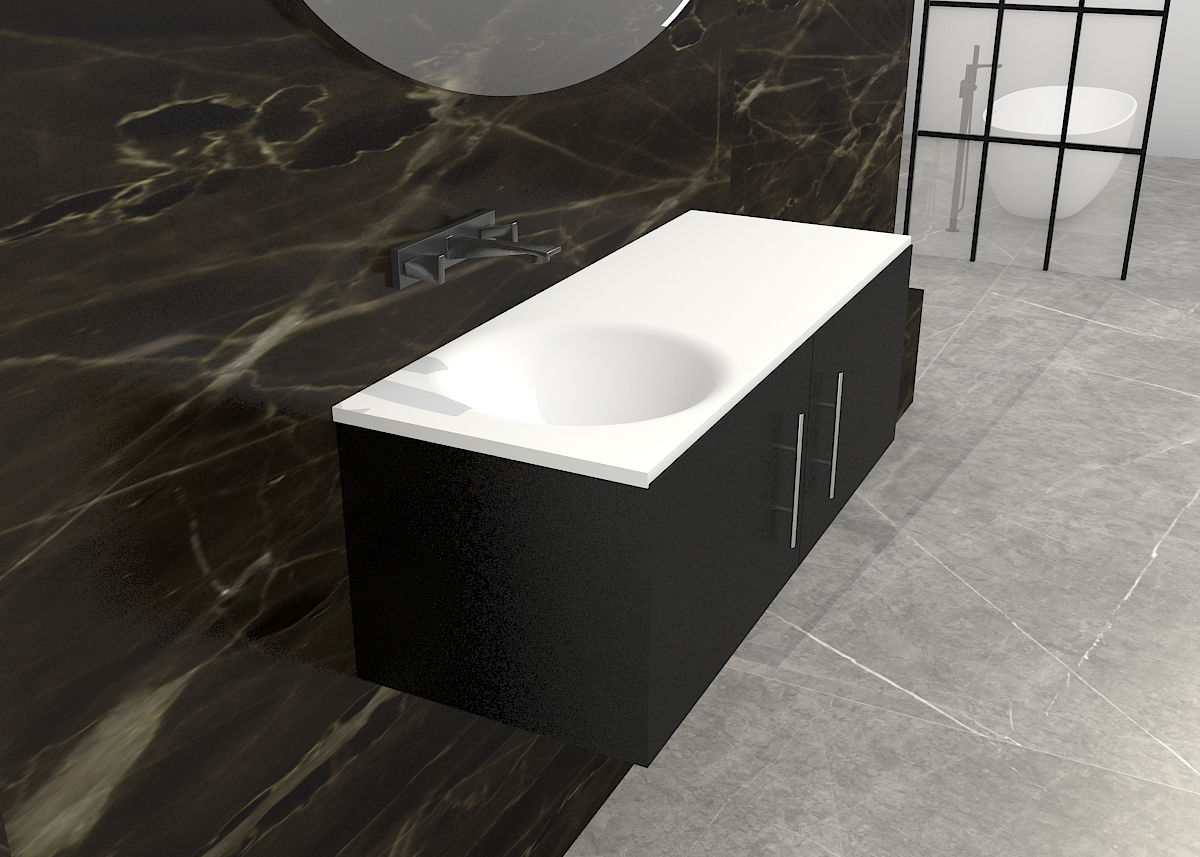
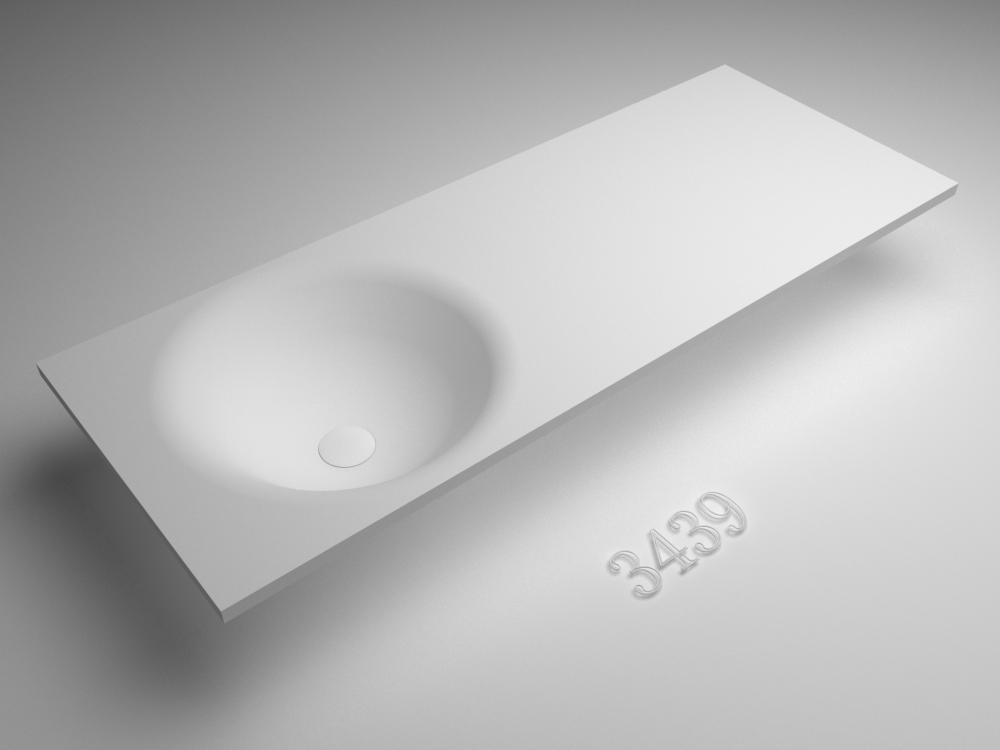
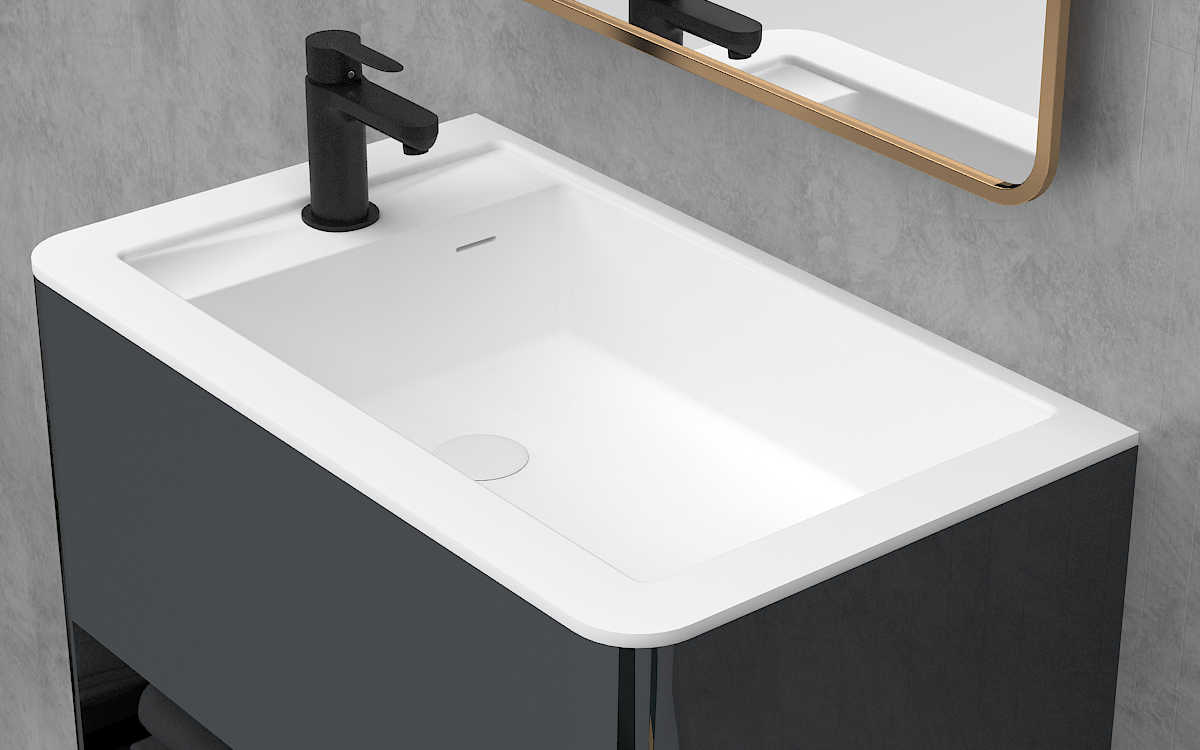
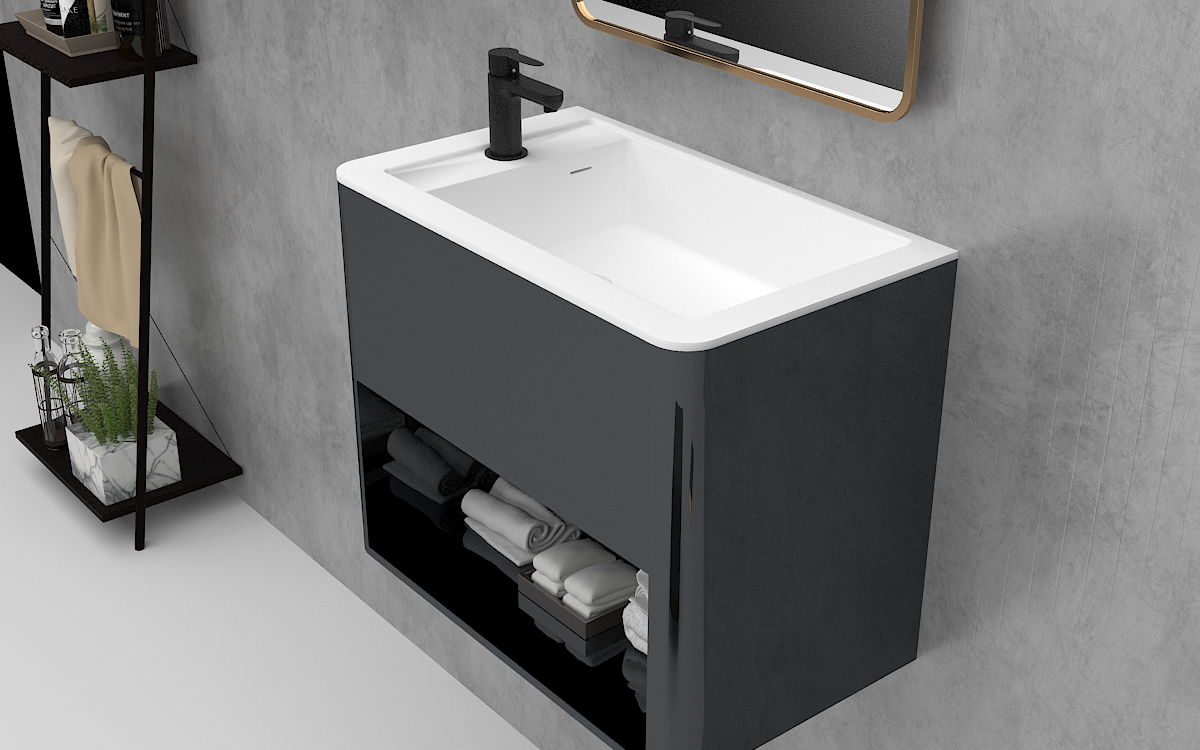
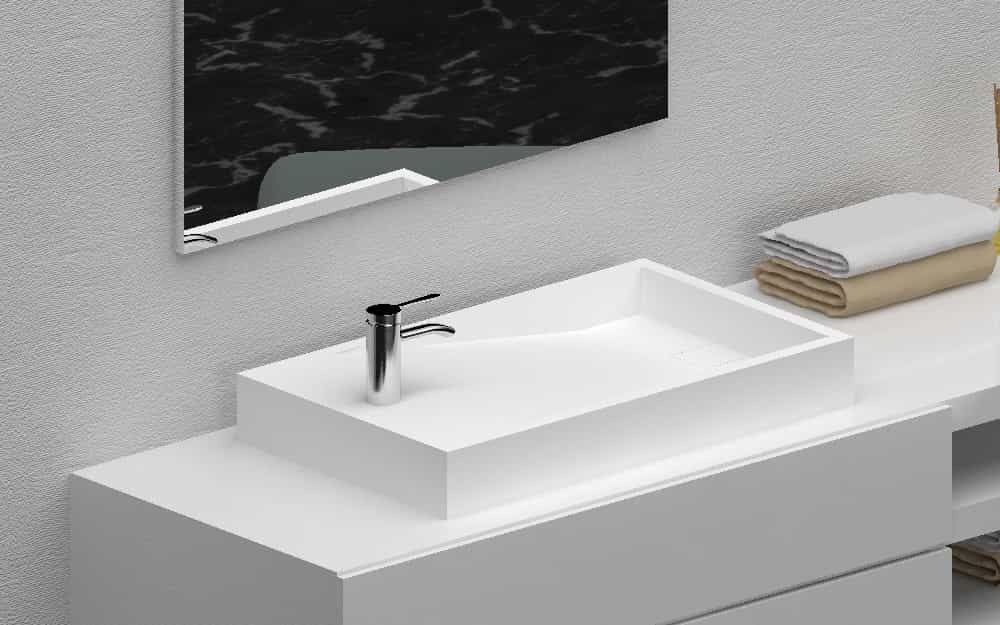
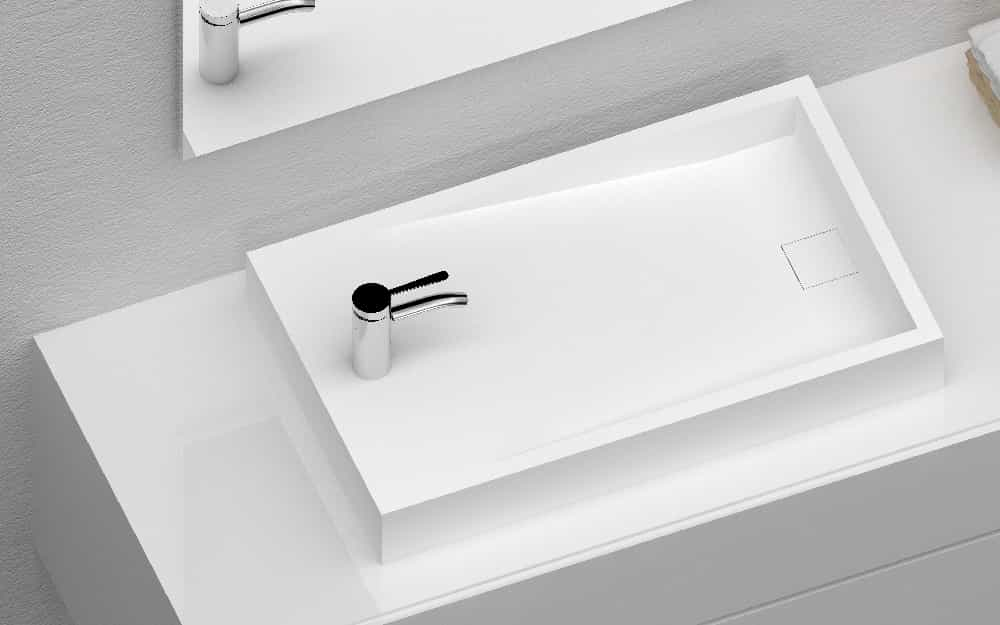
NO3: Installation of washbasin
Install the washbasin: To install the pipe rack washbasin, draw a vertical line according to the middle of the drain pipe mouth, measure the specified height from the ground upwards, draw a horizontal line on the wall, and draw a mark on the wall according to the width of the washbasin. Holes 120mm deep. Rinse the brick slag and other sundries in the hole with water, insert the expansion bolt into the hole, twist it firmly with cement, hang the pipe frame of the fine basin, cover the bolt with rubber pads, eye rings, put nuts on it, and screw it to the end of the pipe frame with moderate tightness The head exceeds the washbasin fixing hole. Put the washbasin on the rack for leveling, weld a bolt with a diameter of 4 mm to a horizontal iron bar, insert the upper end into the fixing hole, and insert the lower end into the pipe frame, put on the nut, and screw it until it is moderately tight.
To install the washbasin with cast iron frame, draw a vertical line according to the center of the drain pipe, measure the specified height from the ground upwards, draw a horizontal line to form a cross line, draw a mark on the horizontal line according to the width of the washbasin, and then draw each A vertical line, place the pot frame, and draw the screw hole position in the hole with a diameter of 15 mm and a length of 70 mm. Roll the lead skin into a roll and cut it into the hole, fix the basin frame on the wall with screws, put the washbasin on the shelf, pull the bolts of the movable shelf, pull out the movable shelf, and hook the shelf to the hole of the washbasin Inside, then tighten the screws of the movable frame to level and align.
The installation of sanitary ware is not a simple matter. Although there are always construction workers to help, it is also a very good thing to know more about yourself!